| Locked | Unlocked |
 |
 |
McIDAS-X Learning Guide
Version 2020
[Search Manual] [Table of Contents] [Go to Previous] [Go to Next]
Some of the things that you do in the GUI are things that you want to work the same way every time that you run the GUI. For instance, in an earlier lesson, you set up the ADDE servers for the GUI. Servers do not change that often, so it's not something that you'll want to have to do every time you start the GUI. The server list is saved and will not have to be re-created every time you run the GUI. Other things that you can configure once and are automatically saved are your map preferences, your cursor preferences, and your short-cut buttons.
In this exercise, you will configure your GUI maps, cursor, and short-cut buttons.
Select: Display/Map
Select: Map Color/choose your favorite color
Click: Draw LAT/LON Lines (if desired)
Select: the color and contour interval for the lat/lon lines
Click: Draw Map to check your settings
Click: Draw & Dismiss
| Locked | Unlocked |
|
|
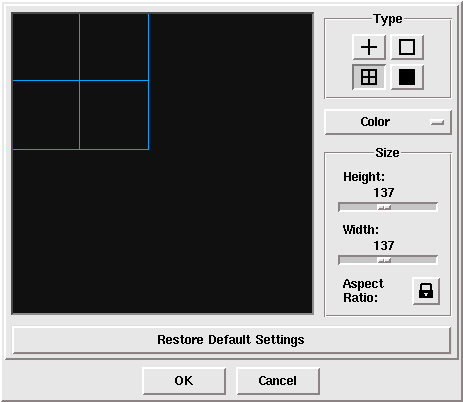
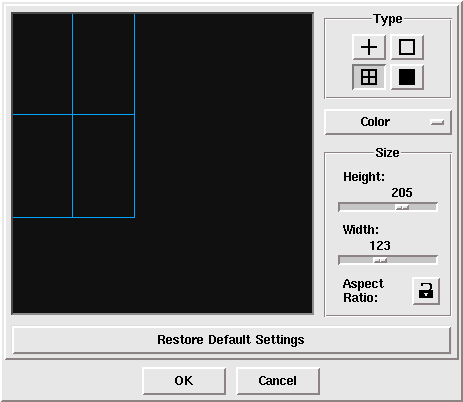
Select: Configure/Cursor Definition
Change the size, shape, and color of your cursor, until you have a cursor that you like.
Click: OK to make this your new cursor, or
Click: Cancel to keep the default cursor
Select: Configure/Shortcut Buttons
Click: New Button
Under Label, type: temp
Under Popup Text, type: US Temps
Under Command, type: erase f;sfcplot t usa
When entering commands, they can be entered just as you would do with the text window, including the use of the semicolon. Also, your commands can be entered as lowercase. When checked, the checkbox at the bottom labeled "Force command string to upper case" will automatically convert the text to uppercase, just as they are in the McIDAS Text and Command window.
Click OK on both editors. The second OK will also dismiss the GUI, because it is necessary in order for the changes to take effect. You should now see your command 'temp' on the first shortcut button. It should look like this:

Click on the 'temp' shortcut button to make sure it works. You should see a map of the United States with the current temperatures displayed.
Select the Button Type: Drop-down menu
Under Label, type: Radar
For the Popup Text, type: US Radar Imagery
Click: Edit Menu Items
Click: Add New Menu Item
Under Label, type: Buffalo
Under Command, type: EG;IMGDISP RTN_N0Q ID=BUF;SFCCON T
Select: Radar/Buffalo
You can continue to create as many shortcut buttons as you like. You can also highlight and edit existing buttons, as well as create additional menu items under the 'Radar' menu you just created. The Up and Down buttons can be used to change the order in which the buttons are displayed. When the first row of buttons is full, use the Next and Prev buttons on the GUI to switch to the next set.
[Search Manual] [Table of Contents] [Go to Previous] [Go to Next]