AMF-1 AERI Packup Instructions
A. Front-end
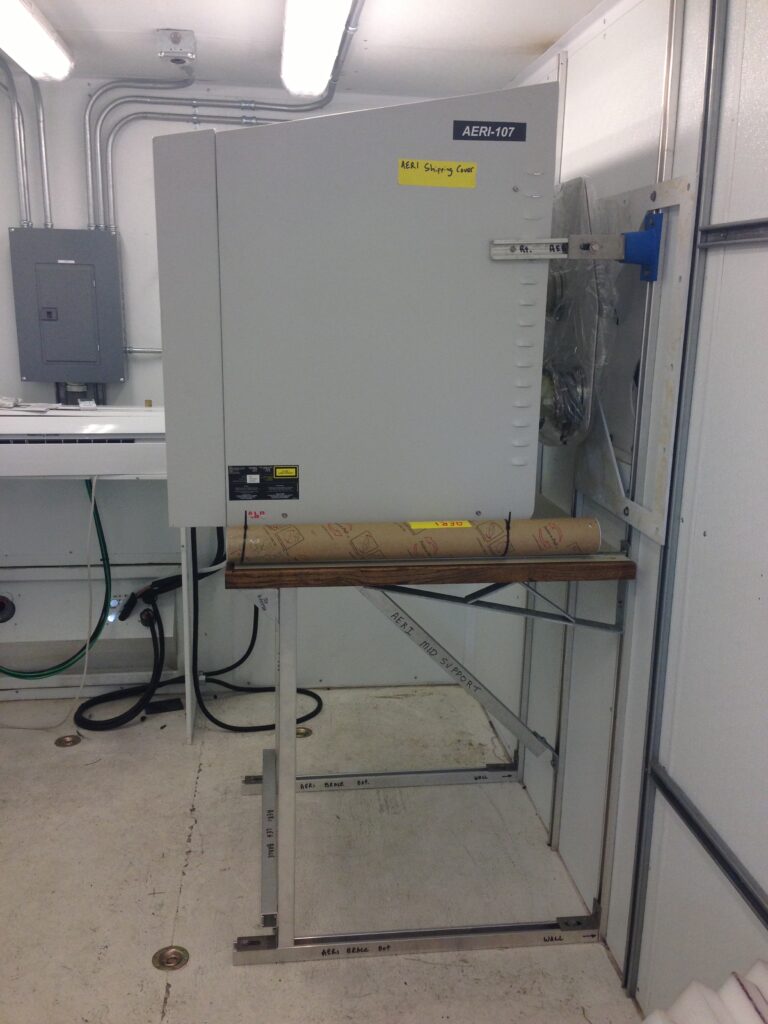
- Locate the large silver case and the AERI front-end cart. All the front-end components need to be migrated to the front-end stand on the cart.
- Ensure that the instrument is powered OFF.
- Remove the front-end enclosure.
- Disconnect all remaining cables going to the components (blackbodies, motor etc.)
- Remove the hex fan assembly (4 screws below the hex + hose clamp)
- Remove the [two blackbodies (ABB & HBB) + the black extension tubes] assembly. You should only unscrew the 4x screws where the black extension tubes meet the hex.
- Remove the trapezoidal ‘hex’ using the 4x nuts.
- Remove the front-end backplate, held on by the 8x 1/4” screws + washers
- Rebuild the front-end on the front-end stand on the cart, in the reverse order as above: backplate, hex, blackbody assemblies, fan, front-end enclosure
- Slide the silver covers onto the cart and pack for shipping
B. Back-end
- Inside, disconnect the power and ethernet cables, and store cables, iBootBar etc. in the black accessories case.
- Outside, remove the trapezoidal backplate piece attached to the 3x tubes going through the container using the 18x hex screws. Note: it’s important to use a straight hex driver (not balled!) because the hex screws could otherwise get stripped.
- Inside, remove the screws securing the AERI rail through the table, so that the AERI can slide.
- Slide the AERI backwards, to bring all of the instrument inside the container. The tubes may need help to get pushed through the orange gasket.
- Replace the screws securing the AERI rail through the table in the ‘travel’ position
- Re-install the trapezoidal backplate piece onto the AERI tubes (or securely stow somewhere)
- Install the AERI back-end cover, using the 6x screws
- Install the the (blue) vibration isolation mounts between the AERI and the uni-strut rails on the container wall.
C. Container
- Remove the existing AERI ‘window’ + the orange gasket and stow.
- Install the shipping cover over the AERI window