Image 1: Data Sources Tab of the Data Explorer
This section describes how to create displays from a McIDAS-X bridge session. The McIDAS-X Bridge provides a way to load data from an active McIDAS-X session into McIDAS-V. Note: The McIDAS-X bridge will only work if you have McIDAS-X, and are updated to at least version 2007a or later. If you do not, proceed to the next section.
The set of steps include:
To start the McIDAS-X bridge listener, type MCLISTEN START in a running McIDAS-X session (version 2007a or later) on a remote or local machine.
In the Data Explorer window, select the Data Sources tab. On the left side of this tab, select McIDAS-X Bridge from the list of available choosers. For more information about the McIDAS-X Bridge chooser, see Creating a McIDAS-X Bridge Session.
If you are connecting to the listener on your local machine, connect to the
defaults of localhost listening on port 8080. Otherwise, enter
in a host name and the corresponding port number and click the ![]() button.
If MCLISTEN START was not run on the local or remote host,
an error box will say that the "Connection to McIDAS-X Bridge Listener at localhost:8080 failed".
button.
If MCLISTEN START was not run on the local or remote host,
an error box will say that the "Connection to McIDAS-X Bridge Listener at localhost:8080 failed".
The data source is shown in the Field
Selector tab of the Data Explorer. The Frame Sequence will be listed in the Fields panel.
Click the (![]() ) tree
tab to the left of "Frame Sequence" to expand that list and list all available
frames in the connected McIDAS-X session. You have the option to select all
available McIDAS-X frames, or one single frame. Select the "Frame Sequence",
and create a "McIDAS-X Image Display" by clicking the
) tree
tab to the left of "Frame Sequence" to expand that list and list all available
frames in the connected McIDAS-X session. You have the option to select all
available McIDAS-X frames, or one single frame. Select the "Frame Sequence",
and create a "McIDAS-X Image Display" by clicking the ![]() button.
button.
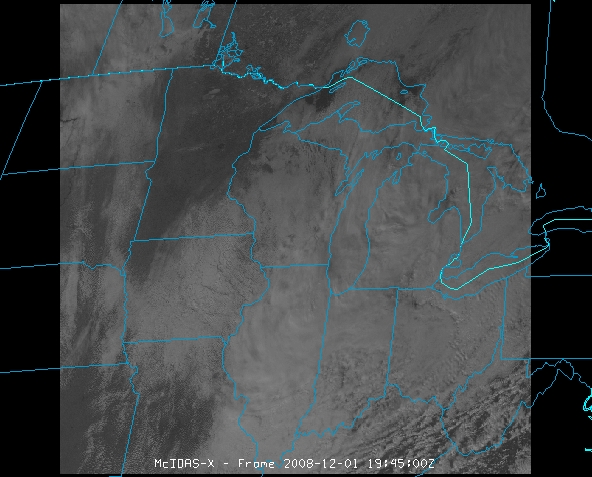
The McIDAS-X bridge session will be in the Layer Controls tab of the Data Explorer, mirroring the McIDAS-X frame(s) selected. You can enter McIDAS-X commands in the "Command Line" text entry box at the bottom of the Layer Controls tab. This will run McIDAS-X commands, and the McIDAS-V display in the Layer Controls tab will update to reflect the results. Although the bridge session resembles a normal McIDAS-X session, interactive commands are not implemented, but recall commands do work.
Create a loop of satellite images in the McIDAS-X bridge session without displaying a map. Import these McIDAS-X frames into the current McIDAS-V 3D panel by selecting the Settings tab and checking the "Display data in main 3D panel" option. This will import all of the navigated McIDAS-X frames into the 3D panel. It is recommended that you do not use maps from McIDAS-X when importing frames, as their quality diminishes as you zoom in on the 3D display.
If at any time you receive an error message: Selected image(s) not available, it is due to the fact that McIDAS-V will only import navigated frames. In cases where you have a combination of navigated and non-navigated frames, McIDAS-V will import the navigated frames into McIDAS-V. Non-navigated frames will remain in your 2D display in the Layer Controls.
For more help with using the McIDAS-X bridge, please see the McIDAS-X Bridge tutorial on the McIDAS-V Documentation webpage.