Front-end Riv-nut Installation
Tools and Equipment Required
- Installation tool
- Blank riv-nut
- 5/32″ (or 4mm) straight hex socket wrench or Allen key
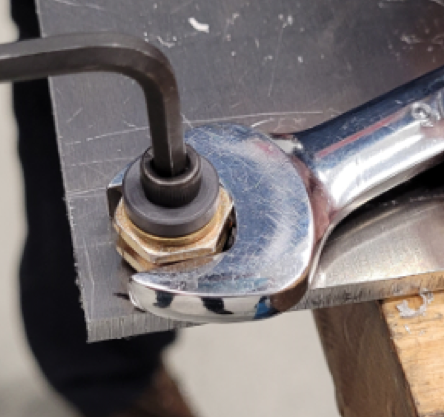
- 9/16″ wrench
- 9/32″ (0.281″ or 7mm) drill bit to remove old riv-nut
- Hand drill to remove old riv-nut
Procedure
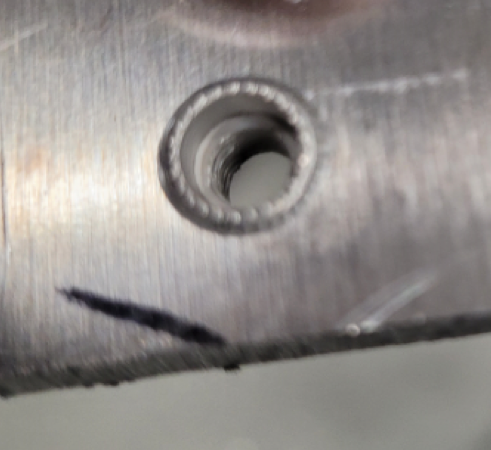
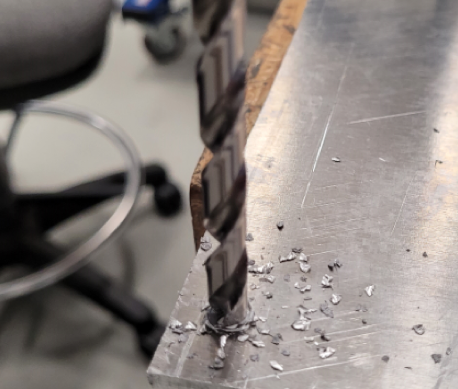
- Use a 9/32″ (0.281″ or 7mm) drill bit to remove the old riv-nut insert, if it’s still present. This can be done with a hand drill, though take care not to enlarge the existing thru hole
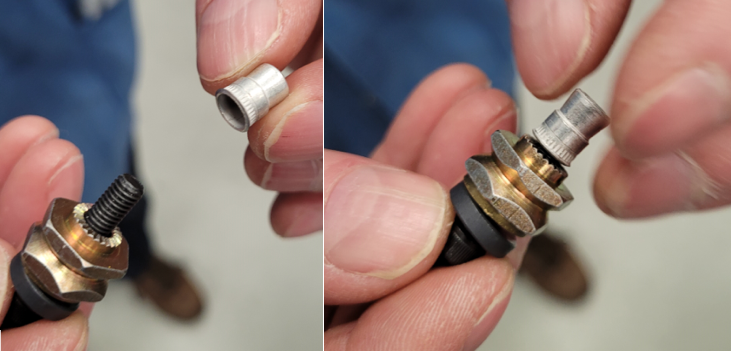
- Install a new riv-nut insert on the installation tool. Be sure to note the correct orientation
- Insert the assembly into the cleaned thru hole. Be sure to insert from the front side, the same side that the screw is inserted
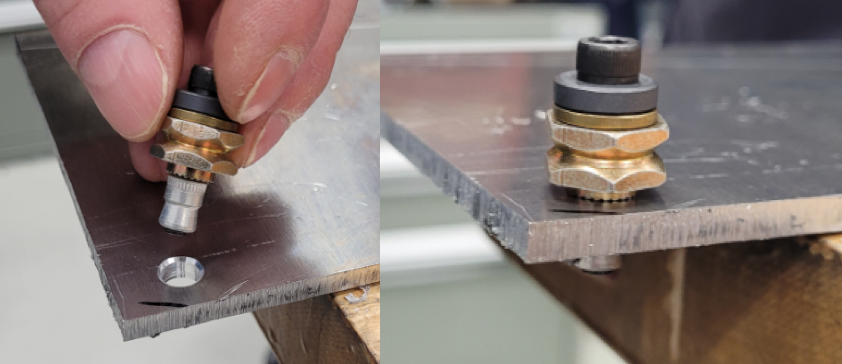
- Use a 9/16″ wrench to secure the tool in place. Use a 5/32″ (or 4mm) straight hex bit with a socket wrench, or Allen key to turn the screw on the tool. Turn approx. 3/4 turn past when resistance is first encountered: this could be 2-2.5 turns for a new installation, or ~4.75 turns when repairing a previous installation
- Unscrew and remove the tool. The insert is ready to use