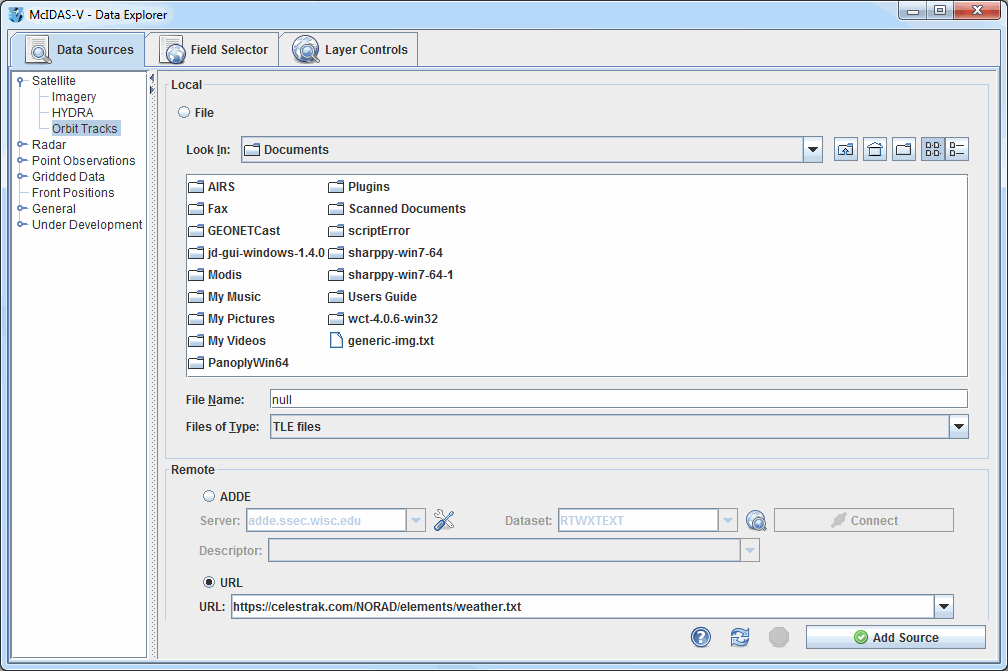
Image 1: Data Sources Tab of the Data Explorer
This section describes how to create a display of satellite orbit tracks. The set of steps include:
In the Data Explorer window, select the Data Sources tab. On the left side of this tab, select Satellite->Orbit Tracks from the list of available choosers. For more information about the Orbit Tracks chooser, see Choosing Satellite Orbit Track Data.
The Orbit Tracks chooser has three different options for creating a data source:
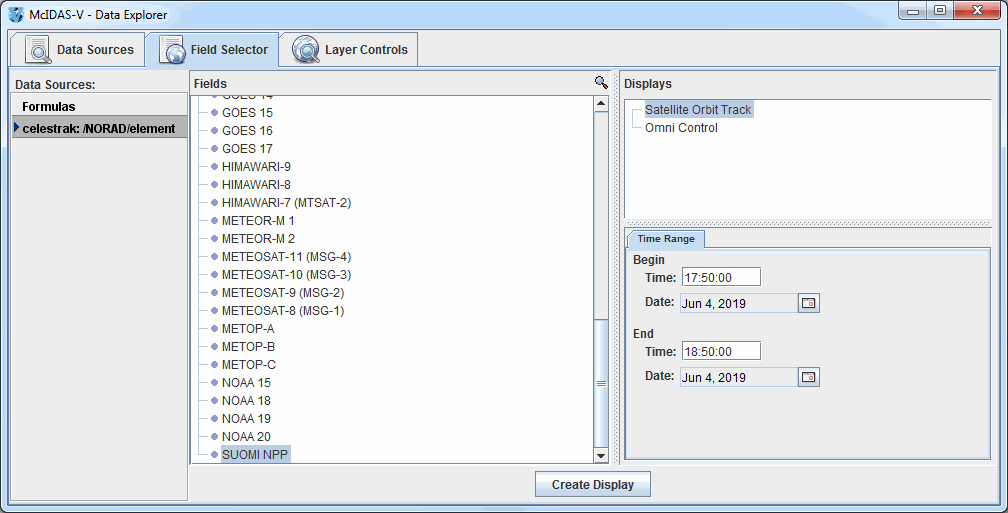
The Fields panel of the Field Selector tab of the Data Explorer lists all of the satellites included in the data source. Select SUOMI NPP and the Satellite Orbit Track display type. In the Time Range subset tab, the beginning and ending times of the track can be defined by the user. Select a Begin and End date and time (for example: Begin 17:50:00; End 18:50:00; Jun 4, 2019), and click the ![]() button.
button.
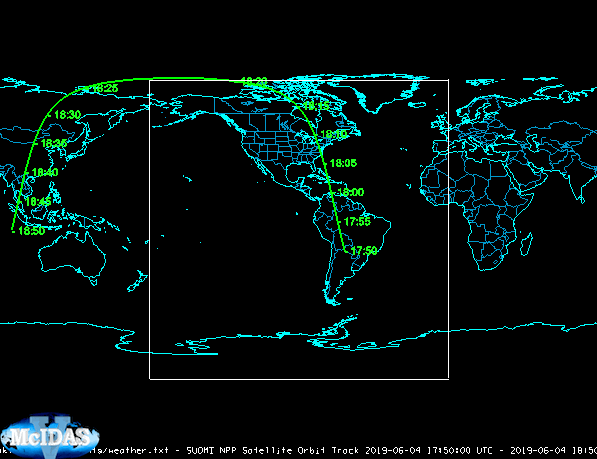
When the display is created, satellite tracks will be drawn in the Main Display window for the satellite and time range selected.
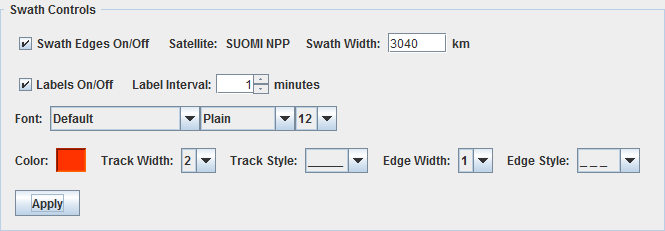
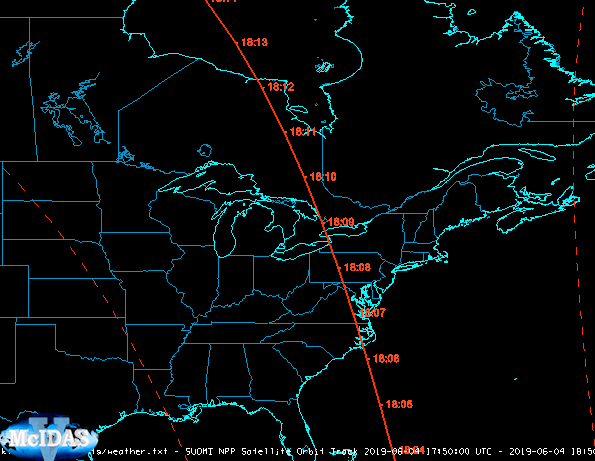
In the Main Display window, zoom in a bit over the tracks. From the Layer Controls, change the Label Interval to 1, enable Swath Edges On/Off, change the color to red, and click Apply. The image below represents the Swath Controls panel of the Layer Controls after these changes have been made.
Once these changes are made, the display in the Main Display window may look like the following image. The solid line is the track of the satellite, and the dashed lines represent the swath that the satellite/instrument scans. This swath width value is defined in the Swath Width item in the Layer Controls.
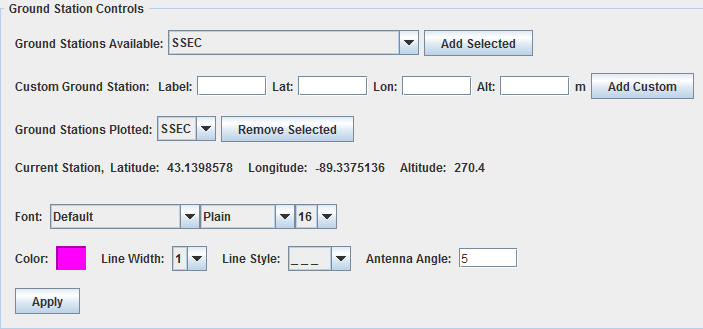
From the Layer Controls, set the Ground Stations Available to SSEC and click Add Selected. Change the font size to 16 and click Apply. Note that the SSEC ground station is located over south central Wisconsin. Dependent on the geographical bounds of the display, a different station may need to be selected in order to see it in the display. The image below represents the Ground Station Controls panel of the Layer Controls after the SSEC ground station has been added.
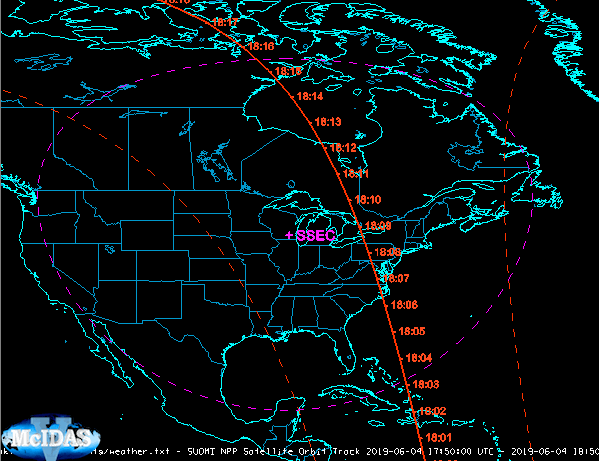
Once these changes are made, the display in the Main Display window may look like the following image. The dashed line around the SSEC ground station represents the geographical range in which the ground station can see the Suomi NPP satellite . The size of this ring is dependent on the altitude of the satellite, as well as the elevation angle of the ground station, which is set by the Antenna Angle item in the Layer Controls.
For more help with displaying satellite orbit track data using the Orbit Tracks chooser, please see the Orbit Tracks tutorial on the McIDAS-V Documentation webpage.