Image 1: Data Sources Tab of the Data Explorer
This section describes how to create multispectral displays using HYDRA. The set of steps include:
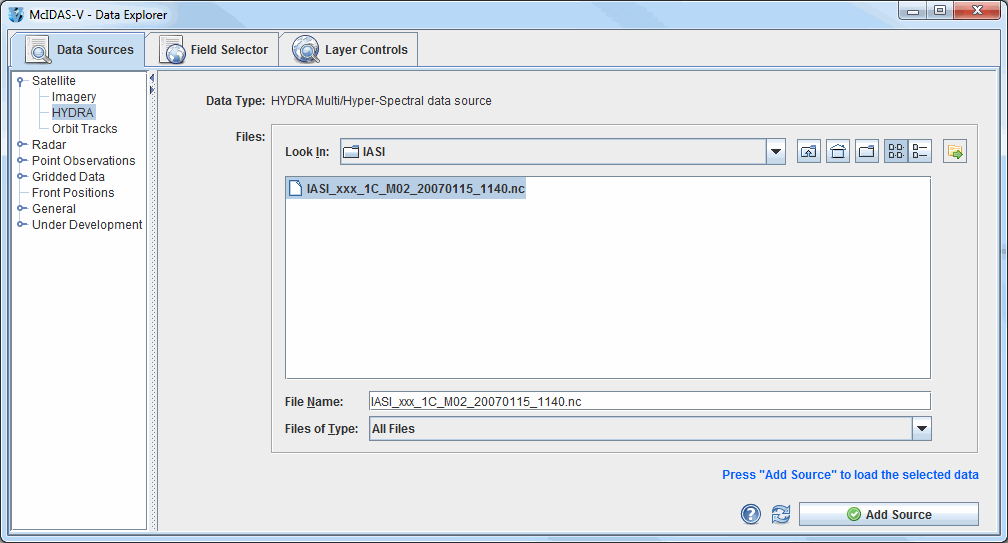
In the Data Explorer window, select the Data Sources tab. On the left side of this tab, select Satellite->HYDRA from the list of available choosers. For more information about the HYDRA chooser, see Choosing Hyperspectral Data.
The HYDRA chooser is fairly similar to the File
Chooser. As a demonstration, download the IASI image from January 15, 2007 located at: https://bin.ssec.wisc.edu/pub/mug/mcidas-v/training/data/IASI_xxx_1C_M02_20070115_1140.nc.
Navigate to the directory the file is in and press ![]() .
.
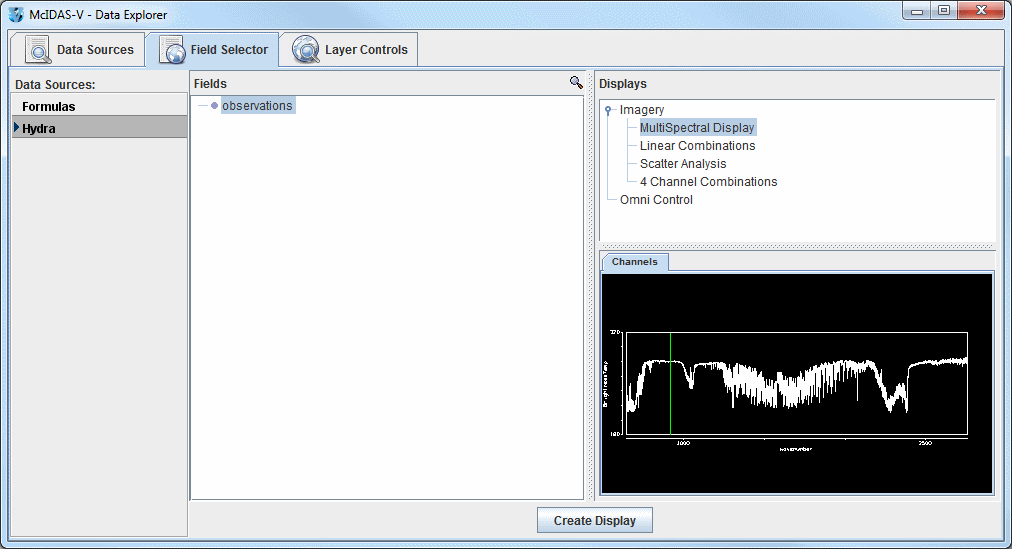
In the Field Selector tab of the Data Explorer, select Imagery->Multispectral Display, and click the ![]() button.
button.
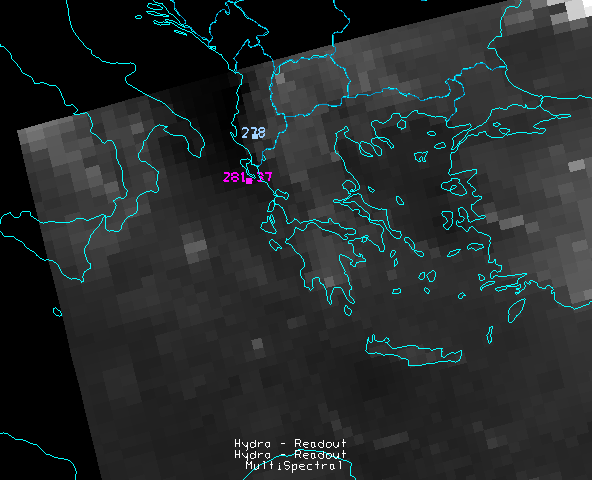
There are four aspects to the multispectral display. The first is the image in the Main Display window. The image will be over Northern Africa and the Mediterranean Sea. The second aspect is the Spectra. The Spectra is displayed in the Layer Controls tab under "MultiSpectral". The spectra displayed by default is the 919.50 cm-1 spectral region (10.8 µm). The final two aspects are the two spectrum probes. In the Main Display window, there are two colored square boxes that represent the main probe (magenta) and the reference probe (light blue). These two probes are listed under "Readout" under "No Display" in the Layer Controls tab of the Data Explorer. Left click and drag either probe to view the spectra measured in various pixels around the image, or use one as a reference spectrum.
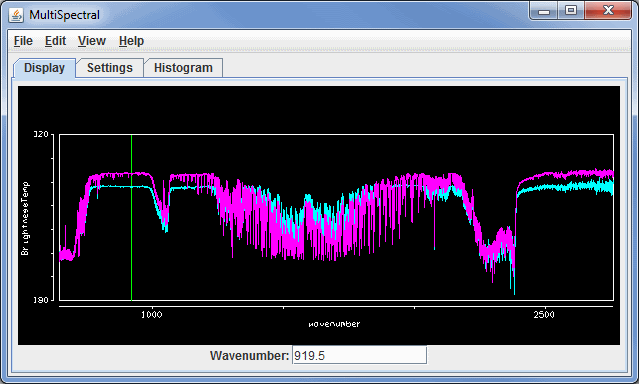
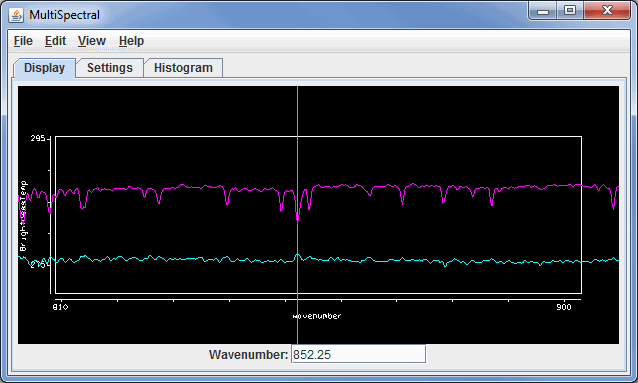
Change the wavenumber being displayed to 852.25 cm-1 by entering in the value into the Wavenumber: box in the Multispectral Display and hitting Enter. Move the magenta and light blue spectra probes to the approximate locations in the image below to locate an inversion at the location of the red box over Albania.
Once the two probes are in the approximate locations, the MultiSpectral window should look similar to the image below.
Zoom in over the 852.25 cm-1 region using the Ctrl+left click+drag combination to create a box of the region to zoom in on. If you miss the region, or want to return to the full spectra, use Shift+left click. The inversion should become clear as you zoom in, as shown in the image below.
For more help with displaying hyperspectral satellite imagery using the HYDRA chooser, please see the Hyperspectral Data tutorial on the McIDAS-V Documentation webpage.