First page Back Continue Last page Overview

VISITview tutorial

June, 2002

Making animations

Updated 3/26/2003

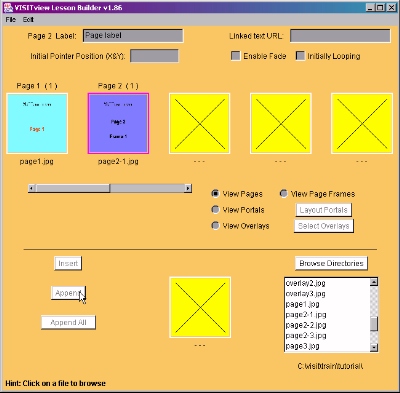
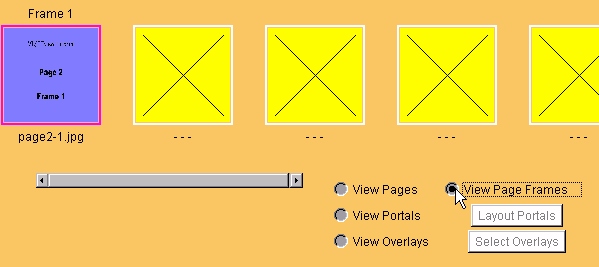
Follow these steps to create a page that has multiple frames that can be used as an animation.

  1. In the List of image files in the lower right corner of the Lesson Builder window, find the file named page2-1.jpg and click on it.
  2. When the image appears in the thumbnail next to the file list, then click on the Append button on the left side. Your screen should now look like:

  3. Click the View Page Frames button as shown here:

  4. Now select the two images files named Page2-2.jpg and Page2-3.jpg from the List of image files in the lower right corner.

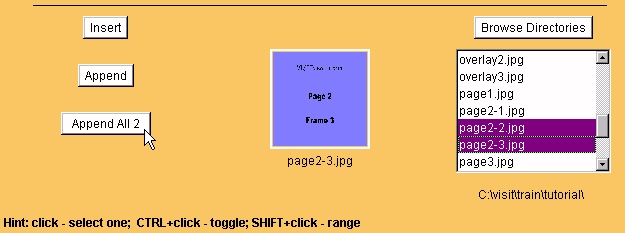
    Tip: to select multiple files, hold the Control (CTRL) key down and click on the filenames you want. You may also use the Shift key to select a range of filenames.

  5. Click on the Append All 2 button on the left side, as shown:

  6. Your images will be moved into the top portion of the display, as frames for Page 2.
  7. Now, select the View Pages mode, and you'll see:

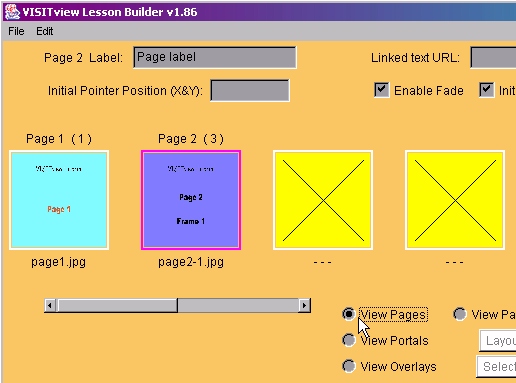
    Note the label at the top of the thumbnail: Page 2 (3). This means that page 2 has three frames.

    Take this opportunity to decide whether you want the page to Enable Fade and/or whether it should be Initially Looping. Check the boxes accordingly.

    Newer versions of the Lesson Builder also allow you to set the initial looping speed by typing in a value between 1 and 400 (slow to fast) in the box provided (but not illustrated here).

  8. Now, click in the Page 2 Label: text input window, at the very top of the Lesson Builder window, and type in a different label for this page. (Note: all pages get a default label "Page Label" and you should always change this label!)

That's it!! You've now added an animation for page 2!


When you're ready to learn about moving and deleting pages and frames, click here.
To return to the VISITview Home Page, please click here.